


How to split screen on mac is a must-know. The split view in Mac is a necessity for every student, employee, and multitasker out there. It is a feature compatible with MacBook Pro, MacBook Air, M1 Mac mini, iMac. It was launched with macOS Catalina operating system. However, You can use a split-screen on all apple devices running OS X El Capitan or later.
Being productive during work is, of course, an essential thing. However, while multitasking, you can often lose focus and concentration. This will lead you to get less work even though you are multitasking now, while we can’t help you while you are physically doing two tasks simultaneously. The split view feature in Mac can be helpful when you are multitasking on a laptop or computer to open multiple apps simultaneously.

What Is The Split View Feature?
Suppose you use multiple applications or browsers at the same time. You will know how difficult and frustrating it is to switch between apps or browsers. The split-screen view is your lifesaver.
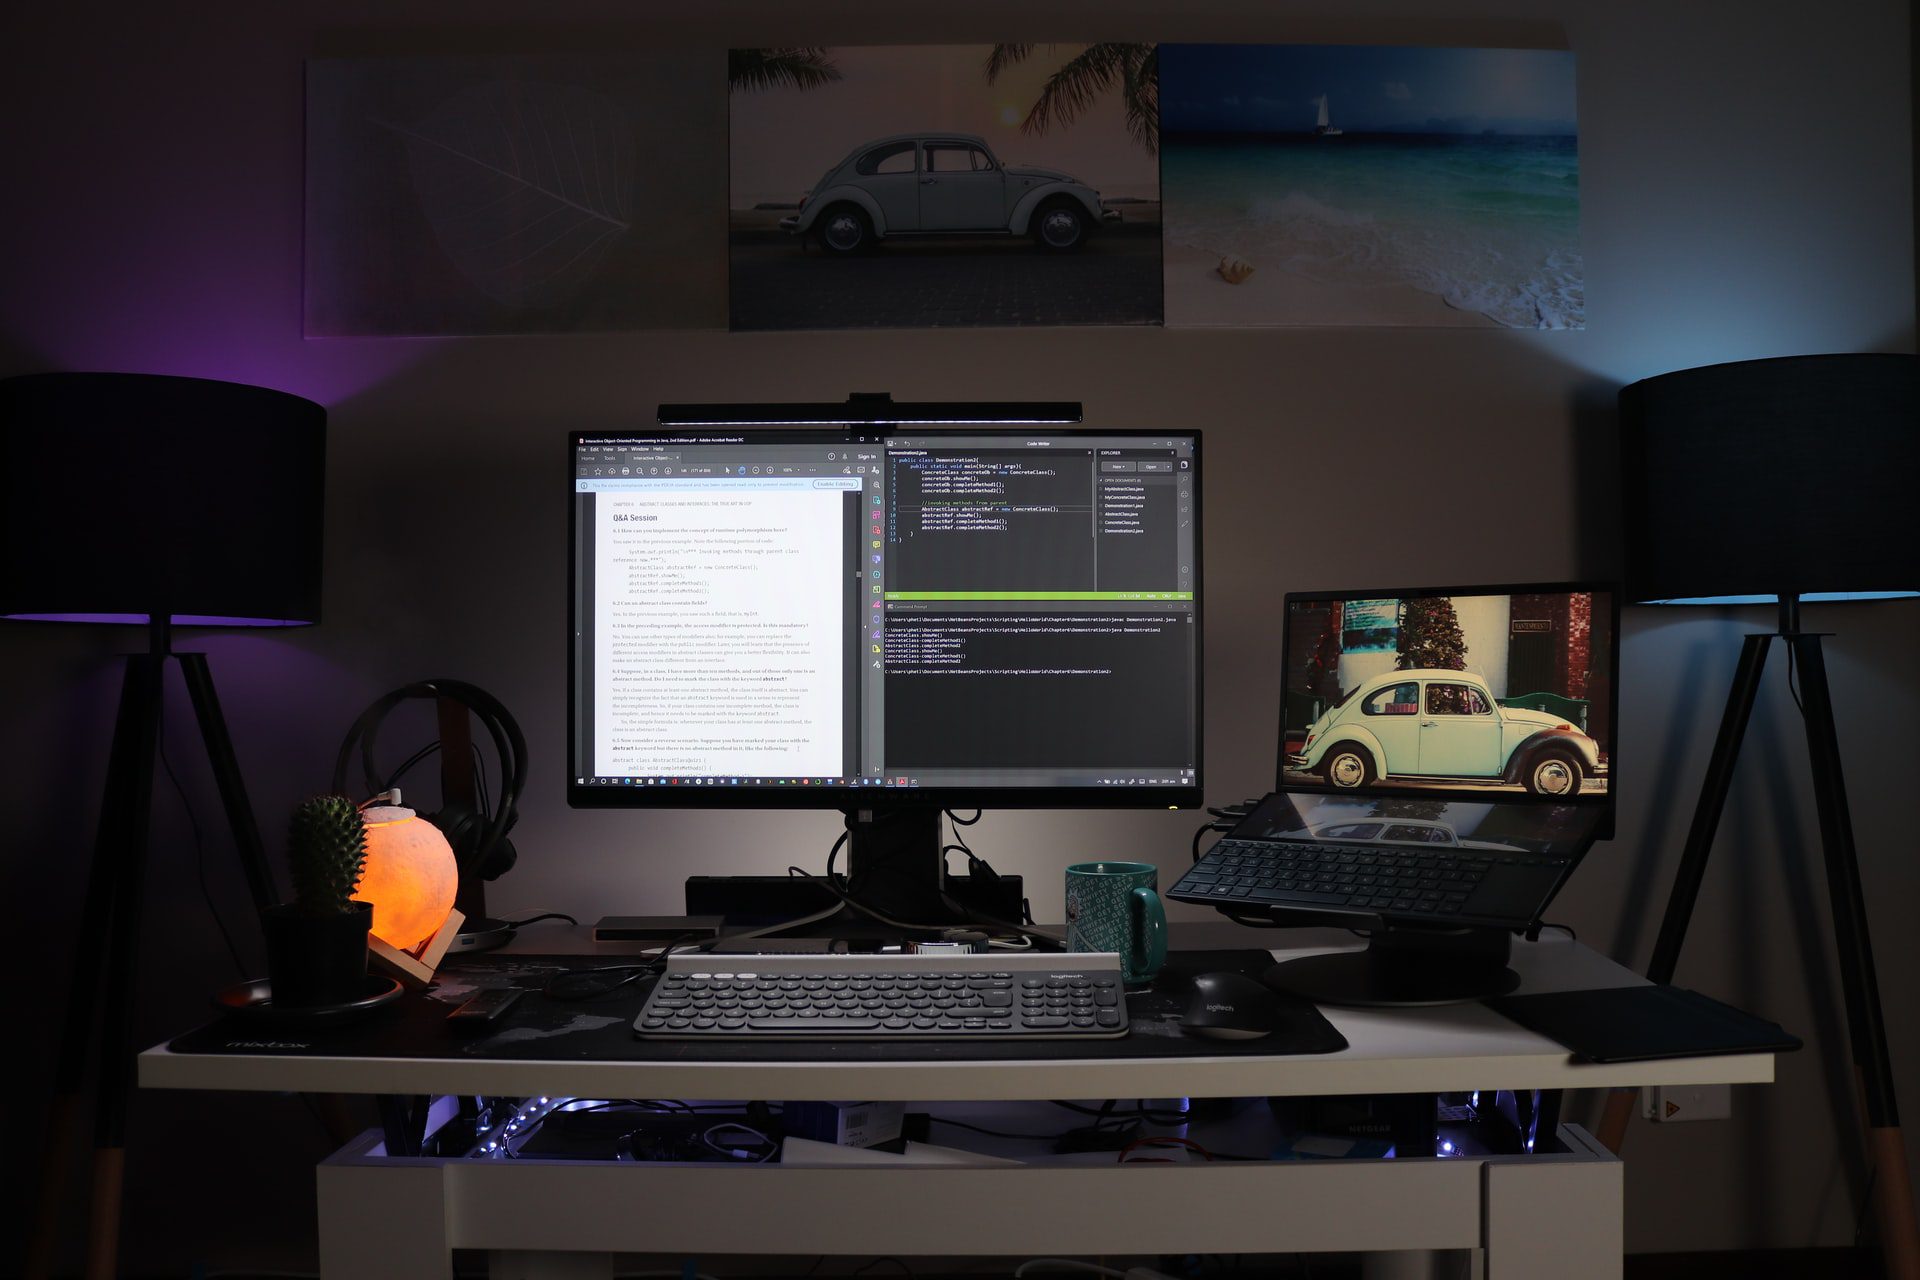
The split view is a feature that divides your screen into two halves. This allows you to work on two things simultaneously, making your life so much easier.
We are going to discuss a few ways to split-screen now.
How To Split Screen On Mac By Few Easy Steps?
Let us learn the most important part of how to access the split view mode for Mac users in a few quick moments.
1. First, you need to make sure neither the apps nor the browser you want to use is in full-screen mode.
2. Now open and click on one of the windows and go to the top left-hand corner. There you will find three buttons in red, yellow, and green color. Now hover the mouse pointer over the green circle button with two arrows pointing outward, i.e., the maximize button. As you hover or long click on the button, you will see a drop-down menu appear. Remember, don’t just click it.
3. You will see three options. Select tile window to left of screen or tile window to the right of the screen.
4. Now, your Mac will automatically enter into split view.
5. The window you selected will be on one side, and the other windows will be showcased on the opposite side of the screen. Select the window you want on the opposite half, and it will fit the remaining half.
An Alternative Way To Enter The Split Screen Mode
If in any instance, for some reason, you are not able to hover over the green button on the tab, you can also use the split-screen feature to open windows side by side in the following way.
1. First, click one of the two apps or browser tabs you want to open in split view.
2. Now, go to the top of your desktop screen’s left side, and you will see options like file, view, edit, windows, etc. Click on the window option.
3. Next, from the drop-down menu, select either the tile window to the left of the screen or the tile window to the right.
How To Open The Split View In macOS Mojave Or Earlier Systems?
For systems like macOS Mojave, sierra, high sierra, or El Captain, you can follow the following steps to enter split view on your Mac.
1. Open any two apps or windows you want to work on simultaneously on your Mac.
2. Next, you will place the pointer on the green, full-screen button in the top left corner. Hold the cursor on the green button. The window or app will shrink.
3. Keep holding the green button and drag it to the screen’s right or left side.
4. Release the button. Now, you can choose another window you want on the opposite side to view concurrently.
5. Viola! You are ready to multitask.
How To Adjust The Size Of The Split Screen View?
It is easy to adjust the split-screen view. While working, you might need one of the app or tab on one side of the split view to take up more space. You can adjust the size of the split view in just one easy step. All you have to do is click on the black border visible between the two screens. Now, drag in either direction to resize the window to your desire.
How To Change The Sides Of The Tile Window In The Split View Mode?
You might want to change the swap window positions of your tab from left to right or vice versa or replace the tiled window. Don’t worry; you won’t have to exit the split-screen view and do it all over again. To switch sides, drag one of the windows to the other side by clicking on the grey menu bar at the top of the window. The grey menu bar is initially hidden during the split view and can be easily accessed by moving the pointer to the top of the screen.
How To Exit the Split-Screen Mode On Mac?
Once you have finished with your multitasking work and want to exit split-screen view, the process to exit is easy enough. Go to either open windows and hover over the top of the screen till the grey menu appears. Hover over the green button on the left side corner. Next, from the drop-down menu, select the exit full-screen option. There you have exit split-view successfully.
Alternatively, you can also click on the green button with outward-pointing arrows, and you will automatically exit split-screen mode. The window on which you selected, exit full screen, will return to its normal view.
On the other hand, the second window will remain in full-screen view mode. Use mission control to go to that window, or click on the tabs icon from the bar below, and it will bring you to that window. Again hover over the green button on the left corner and select exit full screen. Alternatively, you can also exit fullscreen by simply clicking on the green button.
Using Mac Mission Control To Access The Split View Mode
1. First, you can open any app or browser tabs in full screen on your Mac.
2. Second, launch mission control.
- You can do this by simply pressing the F3 key, or you can click on the three rectangles on the touch bar to access mission control.
- Another way is by pressing control and the up arrow together.
- You can also place three or four fingers on the trackpad and swipe up.
- One more way is by double-tapping with two fingers on the magic mouse.
After launching mission control, you will see two thumbnails on the top.
3. You can now drag the other window to the thumbnail containing the full-screen window.
4. You will see that it has automatically entered split view.
5. Lastly, select the split view thumbnail to open the split-screen window.
How To Unhide The Menu Bar At The Top In Split View On Mac?
The menu bar at the top is automatically hidden when you enter the split view. It is easy to access by just dragging your mouse to the top. However, this may be unnerving to a few who want their apple menu bar visible at all times. Having the menu bars be visible at all times is also possible by making a few changes in your settings.
1. Click on the apple logo in the top left corner; from the drop-down menu, select system preferences. Then, select the Dock & Menu Bar and then Dock and Menue bar from the sidebar.
2. Next, uncheck the “Automatically hide and show the menu bar in full screen” option. Now, the menu bar should be visible in split view.
As an alternative method, you can also resize your app window and browsers side by side to have your top menu bar and dock visible on the same screen. This will not be in the split view. You can also use third-party split-view apps that allow you to have the top menu bar be visible.
How To Access Other Windows In Split View?
Sometimes you might require the use of more than two windows or apps. Work will have opening 3-4 tabs together and switching from one to another while working. However, the split view allows only two windows to be open simultaneously. Or the case can be you don’t need the third window or app as much as the other two.
In that case, you can follow the steps and open other apps using mission control on Mac, as mentioned below.
1. We have mentioned different approaches you can use to access mission control in the above topic. Press the F3 key or swipe three fingers up on the trackpad.
2. Now, all you have to do is click the thumbnails at the top to switch between your split-screen view and the other windows. And now, you can use multiple apps or browsers with your split-screen view.

Apps You Can Use As An Alternative To Mac Split View
As we mentioned in the above paragraph, more times than often not, we will require more than two split screens to complete our work. Third-party apps can help you open more than two apps or browsers on the split-screen and are good mac split-screen alternatives. Third-party apps will also come into play if the split view does not work on your Mac for some reason. They will also make the process of accessing the split view feature easier. The apps are:
1. Magnet
Magnet is one of the best apps out there that help you multitask in macOS. After you set up the app, you can drag the app or the browsers to your screen’s corners. This puts them into the split view—no need or requirement to hold down any key or hover over any button.
The best feature of the app is that it lets you access triplet split view on a mac. It allows you to organize apps or browsers into two or even four screens side by side. It supports up to six external split views. This is amazing for when you have to look at multiple websites simultaneously to work. It makes it easier to have all the windows open on the same screen.
However, the magnet is not a free tool. But if you want to multitask seamlessly, this is the app for you.
Download here: Magnet
2. Window Focus
Multitasking requires major focusing and determination. When working in the split view, something popping up on the other screen can be very distracting. Window focus is not only a great app for the split view but also helps you focus. The app helps you focus by highlighting the window you are working on and dimming all other apps around it.
Consequently, reducing distraction and increasing your ability to focus. It allows you to dim the light of the other apps to your liking. Allowing you to have better control over your productivity. This is also a paid app. However, they do offer you a free trial.
Download here: Window Focus.
3. BetterSnapTool
Another app that lets you split into more than two screens. This app allows you to create areas on your screen. Next, you can drag your apps or browsers into these areas and have access to multiple screens simultaneously. This saves you a lot of time and makes your work easier. Additional features in the app include being able to customize keyboard shortcuts, hide doc, and access to it on multiple monitors to increase your productivity levels.
BetterSnapTool is available on the app store as a paid app.
Download here: BetterSnapTool
4. Spectacle
Hate using the mouse or removing your hand from the keyboard? If you continuously type or work with the keyboard, then this is the app for you. Spectacle allows you to create tons of shortcuts using the keyboard. This allows you to work continuously without removing your hand from the keyboard, eliminating the need to use a mouse. Spectacle really does make working easier and faster. Even more amazing news it is a free app.
Download here: Spectacle
5. Mosaic
Mosaic app is a good alternative to split view on Mac. Mosaic allows you to have any layout. Such as you can divide your screen into rows, columns, squares, or customize the way you want it and how much space you need. To set up your workspace launch, Mosaic in your menu bar. Next, drag your app windows onto the setup you have customized in the preference under “Quick Layout” or your preferred one. Mosaic allows you to customize according to your needs and helps you be more productive. It is compatible will all apps.
Download here: Mosaic
6. Moom
Resizing is a very tiring task. Having to resize windows or browser tabs every time you open split-screen is too much work. Moom is the app thats solves the problem. Moom is a great split-screen app. Instead of resizing everything, you hover over the maximize button, and moom pannels show up. They give you options for different layouts; you choose one, and Moom will apply it. No need for drag or resizing is required.
This is another app that allows you to make keyboard shortcuts. This is a paid app. Although, they do offer a free trial period.
Download here: Moom
7. Divvy
Divvy is one other app for split-screen. It is even better at arranging and managing all the windows. It saves you the hassle of resing and gives you ready-made layouts where you can drag and snap your app or browser into place. It is convenient for users to use. It gives you several options for window split-screen layout. Divvy also allows you to customize shortcuts for that mouse-free, easy, and fast work. If you are not sure, this is the best option to try the app’s free trial before deciding to buy it.
Download here: Divvy
We have looked at many third-party apps that can be useful to you. Some might even say they are a way better alternative to the mac spilled screen feature. You can choose the one that fits your work style the best.
Why Does My Split-Screen Mode Not Work?
Split view works seamlessly on Mac and is super easy to access. However, if you can’t access there might be a couple of reasons. First, make sure your app or browser is in a normal window view and not in full-screen mode. The split view will not work in full-screen mode. Remember, not all apps support the split view, and some apps support the split-screen feature. You will have to make sure that is not the problem.
The second problem you may run into is that “Displays have separate spaces” may not be enabled. To enable this, go to system preferences. Then, select mission control and check whether “Display have separate spaces” is enabled or not. Make sure you enable it if it is not.
Another issue can be that your Mac is not up to date. It is necessary to make sure that your Mac is updated to macOS 10.11 or later. To check your update status, click on the apple icon on the top left corner of your desktop. Next, from the drop-down menu, select “About this Mac.” If you are not updated, you will have to update by clicking the software update button on that screen.
If the problem with the split view persists, try downloading third-party apps. Also, keep in mind some apps are not compatible with the split view.
Is There Any Keyboard Shortcut For The Split View?
Who does not like a good shortcut? There are some keyboard shortcuts you can utilize to open the split view. They are time savers, make accessing features easier, and they are just fun.

1. Press control + Command + F to go to full-screen view for one app or browser. Next, you can hit the F3 key to launch mission control and drag another app or browser onto the browser currently having a full screen. Select the thumbnail with the newly combined apps, and you will have accessed the split view.
2. Still too many steps? You can customize your own keyboard shortcut for the split view. First, go to system preferences. Then, select the keyboard and click on shortcuts. Under shortcuts, select the app shortcuts option.
Next, you can click the “+” button to add your command. Choose your preferred shortcut and add the command “Tile Window to Left of Screen” or “Tile Window to Right of Screen.” Once you are done, your selected window will tile to one side using the keyboard shortcut, and you can add another window or browser to the split view.
How To Disable The Split View On Mac?
You might not be a fan of the split view or are done using it and want to disable it. There are a few easy steps you can follow to disable split-view easily.
You can do this from your setting option in Mac.
1. First, head out to system preference by clicking the apple icon from the top left corner and selecting it from the drop-down menu.
2. Second step is to select mission control.
3. Now, uncheck the “Displays have a separate spaces” option. And the split view on your Mac is disabled. To apply the changes, you may have to restart your Mac.
Multitasking With Multiple Windows Simultaneously
Getting distracted while working can be a major downfall. One thing that can be distracting is switching between apps or browsers while working. If you multitask regularly, the split view feature is essential for you. We have seen how you access split view in just a few steps, alternate ways to access the split view, third-party apps you can use for split view, and creating keyboard shortcuts.
We also saw how you could create keyboard shortcuts from your setting. We also discussed problems as to why you are not able to use the split view feature. We hope the split view feature helps you be more productive and get your work done faster.
Last Updated on September 4, 2021 by parinaparmar


